How to set up Site Tracking
Site Tracking is quick and easy to set up. We recommend that everyone set up Site Tracking because it's a core feature that enables more powerful marketing and sales processes.
Turning Site Tracking on and whitelisting your domains:
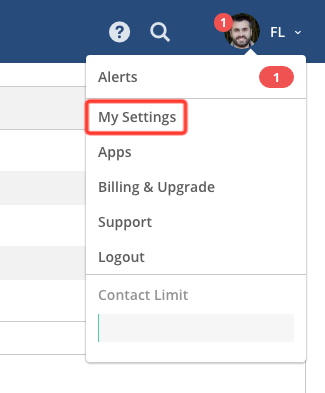
To begin, click the Gravatar in the top-right corner to display your account menu:

Click “My Settings:”
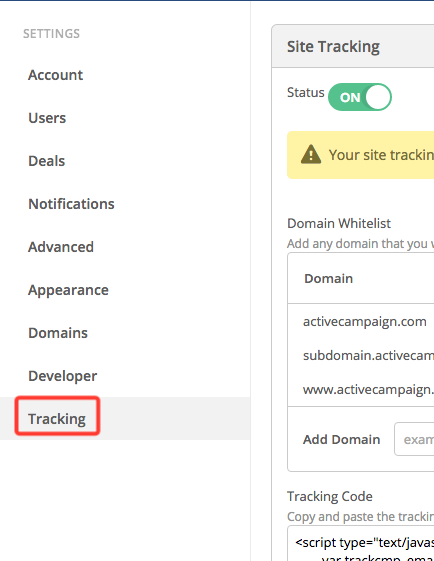
Click “Tracking” in the left-hand sidebar:
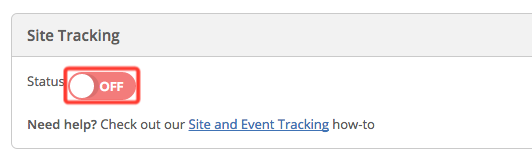
Click the red toggle to turn Site Tracking on:
You'll
see a section titled “Domain Whitelist” and an option to “Add Domain.”
In the text field, type your domain name (excluding the “http://”) and click “Add.” Your domain will appear above to indicate it is whitelisted:

Add
each of your domains (you can include the domains of multiple websites)
and be sure you add all your subdomains as well. For instance, some
websites have a “www” version of their site or host their help docs on a
subdomain such as “help.website.com”
Installing the Site Tracking code:
For Site Tracking to work, you need to add tracking code into each
page of your website.
Click into the box displaying the Site Tracking code:
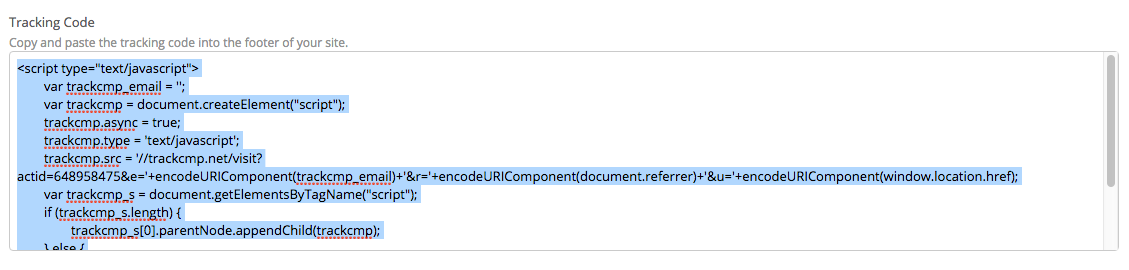
Press Control + c (Command + C on a Mac) to copy the code to your clipboard.
Press
Control + v (Command + v on a Mac) to paste the code into your website.
It should be placed on each page of your site. For information on how
to make the code appear on each page of your site, see the documentation
of your content management system (CMS). Most CMSs have a solution so
that you don't need to copy and paste the code into each page
one-by-one.
A third option for identifying your contacts:
The Site Tracking code works without modification. You'll be able to
identify visitors when they submit a form or click a link in an email
campaign. The Site Tracking code will be able to track a contact's
visits from that moment forward.
There is a third way to
identify your contacts. You can insert their email address into the code
if you've already identified them by their email. For instance, if you
have a membership site, you might be able to identify them after they
log in.
You can dynamically populate the “trackcmp_email”
variable with code. If this is too technical for you, note that you do
not need to use this option — you can still identify contacts with form
submits and link clicks. However, if you are technical enough, this is
an additional option available to you.
Once the code is in
your site, and you've whitelisted your domains, the Email Campaign Marketer will
begin collecting data and adding it onto your contact records as
contacts are identified.